Monday, 4 November 2013

Chocolate and salted caramel chiffon cake

I very much enjoyed this years Great British Bake Off and I thought Frances was definitely a worthy winner, I didn't think this years series was a patch on last years tho. In homage to last years winner I decided to make john's salted caramel and chocolate chiffon cake for my brothers girlfriends birthday!!

This is a chocolate cake with a salted caramel filling and a chocolate ganache icing. The cake is a chiffon cake so there are a lot of eggs and you use the eggs to make a meringue and keep as much air as possible in to keep the cake as light and fluffy as possible. Here is the recipe.

The cake is a little complicated as their are three components, the caramel, chocolate ganache and the cake itself so you definitely need quite a bit of time free to make this!! I started off by separating the eggs, then make the meringue, mix everything else together and get the cake into the oven. I followed the recipe exactly and the cake turned out pretty well. With hindsight, I think it could have been a little lighter so I probably could have done with doing a bit more gentle folding of the meringue into the mixture. It also says to knock the tin onto the work surface a couple of times to get rid of any air bubbles, I probably got a bit excited doing this so again, this probably knocked out quite a bit of the air. Here is a picture of my cake just before it went into the oven!


Then this is a picture of it when it came out. It rose really nicely but it did have quite a few cracks on the top.


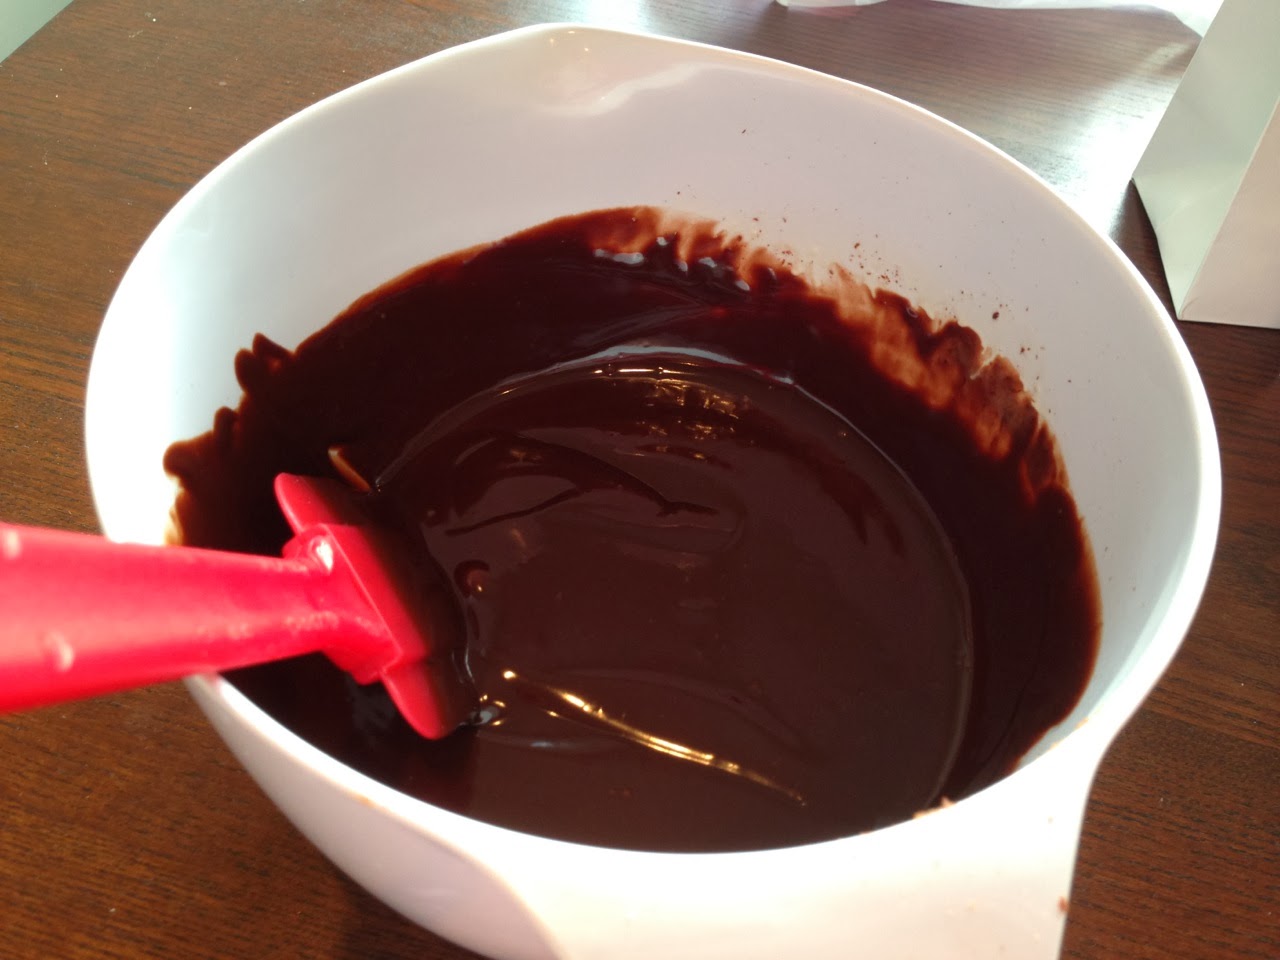
The chocolate ganache is super easy to make. You just heat the cream and pour it over the until the chocolate melts. I mixed it all together to make a lovely smooth shiny ganache, then put it in the fridge to cool and thicken. 


The salted caramel filling is a little more difficult to make. I think I probably should have heated the mixture a little longer as it tasted a little grainy and I think this was the unmelted sugar.


The other problem I ended up having was over time.  It took ages for the cake to cool so it meant that I had to wait ages to fill it, and in the end I had to fill it when it was still slightly warm.You also have to cool both the salted caramel filling and the ganache, so you need to make sure that you have plenty of space in the fridge! As I ended up filling the cake slightly warm, this meant that by the time I had transported it some of the filling had oozed out a bit, but oh well... :) It was a lovely cake, my husband said that it was one of the nicest cakes that I had ever made and he liked the texture which is quite 'bouncy'.

As its one big cake, to fill it you have to slice it in half, which I actually managed to do fairly evenly. Here is the final cake just with the salted caramel filling.

Then here it is with the chocolate ganache decoration. This looks lovely, but it is really simple. Although you are supposed to spike up the ganache in the recipe but all my spikes seemed to fall over so I ended up with smaller little roses almost. It still looked pretty tho!


And here is a slice of the cake. As you can see the bottom part of the cake was a little denser than the top. I'm not sure if I needed to make it in two tins, or if I just knocked too much air out of the meringue but it still tasted lovely and the chocolate ganache was great.


Friday, 6 September 2013

Julia Child's French Strawberry Tart

A friend of mine sent me a message on facebook saying they were making a strawberry tart and asking how to make the sweet pastry.. I gave a bit of advice, its fine to use caster sugar in the pastry rather than icing sugar, and also to generally not to handle the pastry too much. I then felt a bit guilty as I've never actually made a strawberry tart and then wondered if I had given the correct advice!

I decided that I'd better correct this and started through my cookery books. I struggled to find exactly what I wanted until I remembered that I have the Mastering the Art of French Cookery which I bought after I watched Julie et Julia. This has a classic french strawberry tart recipe, pastry, creme patisserie and strawberries with a light glaze. There are two options in the book for pastry of either a flan case or a sweet pastry, so I decided to opt for a sweet pastry. The recipe in the book is for one large tart, but as I have some small individual tart tins, I decided to do four individual ones and just halve the recipe.

First of all you need to make the pastry. My recipe book is quite old and I guess American in style given its Julia Child's recipe so the recipe is in old school ounces!

It then needs to be chilled before being rolled out, so whilst it was in the fridge I moved on to the creme pat.

The first and only other time I have attempted a creme pat it did not work at all so I was pretty nervous about making this. However, Julia Child's recipe book made it seem pretty easy so I followed the instructions exactly, et voila! A perfect creme patissiere! I put some cling film straight onto the creme pat and then popped it in the fridge to cool, whilst I got on with my pastry.


I quickly rolled it out and filled the tart tins. I always have problems with pastry shrinking and I remember that I saw a tv show where they blind bake the pastry and leave it overhanging the edge then cut if off later when the pastry is part baked so I thought I'd give this a bash!

The tart case is completely baked, as once its cooled you fill it with the creme pat and pop the strawberries on top then glaze it, then serve. There is no second bake.

As I decided to make 4 smaller tarts rather than one large tart, I was a bit unsure of the baking time so I decided I'd blind bake the tarts for 10mins with baking beans, then trim down the pastry, remove the beans and put it back in the oven until it was cooked. With hindsight, I'd suggest I should have baked it for less time before taking out the beans as the pastry didn't look as good as I'd have liked it to be.


I then waited for the pastry to cool, and got on with the strawberries. I washed and hulled the strawberries and left them whole. Then I left them to dry nicely and warmed some jam and a drop of water. I just popped it in the microwave rather than warmed it on the stove! I then assembled the tarts. I filled them up with creme pat then put the strawberries on top. I attempted to put a big one in the middle, and some smaller ones around the sides then I used a pastry brush and brushed in the hot jam to give it a nice glaze.

And here is the finished tart!!


Monday, 12 August 2013

Key Lime Pie

Just in time for the new series of the Great British Bake Off, I thought I'd resurrect my blog!!

This weekend I was invited to a friends barbecue and asked to provide a dessert! I got myself on the Internet and decided on something new, Key Lime Pie! One of my friends is allergic to eggs so I had to find a recipe without meringue on the top and decided to go with a Nigella Lawson recipe. Here it is!


This one requires no baking as it has a digestive biscuit base, it's a pretty easy recipe really. I just put the digestives with some butter and chocolate chips in the food processor and then pressed it into the bottom of my loose bottomed tart tin. Normally with cheesecake bases I melt the butter and mix in the digestives but this recipe was a bit different. I pressed the base together and put it into the fridge while I made the filling. First job, zest four limes, then squeeze out the juice. Some of the limes were a bit hard so used a trick I learned from Jamie Oliver's tv show and just stabbed them once and popped them in the microwave for 10 secs. Lots more juice comes out if you do this! Reserve the zest for decorating the pie. Then I just popped open a can of condensed milk, and whisked in the juice of the limes, then I poured in the cream and kept whisking in my K-Mix it started to thicken up like normal whipped cream, so I took the base out of the fridge and poured in the filling and smoothed out the top as best I could!


Then it went back in the fridge until it was BBQ time! 

To decorate the pie, I sprinkled over the lime zest, and grated over some dark chocolate. Et voila!!


It tasted lovely, perfectly tart, not too sweet and very light. The only problem was the biscuit base was a touch too crumbly. I don't think I'd have this problem next time if I melt the butter instead of just putting it in the food mixer. But it was really nice and so simple to make so long as you have the refrigerator time!! I'd highly recommend this to anyone looking for a dinner party dessert!!!


Tuesday, 26 March 2013

Tonight Matthew.... I'll be making a Malt Loaf!

Last week a new cookery show started on the BBC. Paul Hollywood from the Great British Bake Off has a new Bread show. Awesome! So during the show he made loads of cool things, but the one that stuck out to me was Malt Loaf! A favourite from my childhood he made two loaves in last week's show and it looked loads more appetising than the standard Soreen style loaf that I know and love. Much lighter in colour and lighter in texture I thought this would do nicely for this weekends baking challenge.

The recipe is available on the BBC website here.

First of all I had to go out to buy Malt Extract, luckily they sell it in Holland and Barrett and other shops like this. You can also order it online, but I managed to find a nice jar just around the corner from work. Sorted! Then on to the recipe.

First of all I discovered you need two 1lb loaf tins, unfortunately I only have one 2lb tin. I decided that I might as well just make one big loaf, rather than try to split the mixture without the required tins! The recipe is reasonably easy to follow and it doesn't need a massive amount of kneading, just enough to bring the mixture together and get a smooth enough dough. I worked it using the method Paul used in the show of just folding up the dough until it was quite springy and appeared smooth. I then shaped it into a rectangle as best I could and popped it into the loaf tin. I pushed the dough down into the corners and flattened it out a bit by poking it with my fingers, and left it to rise for about an hour and a half in my kitchen. I was baking another cake whilst the malt loaf proved so I left it nearish the oven and it was reasonably warm in my kitchen!


After an hour and a half the dough had risen nicely! It had popped out of the tin until it was quite big actually and I decided it could go straight into the oven. I was a bit worried about how long to leave it in for given it was twice the size of the one on the tv, but I left it in for about 40 mins, checked it and left it for 5 more minutes then decided it was done! Here's my finished cake and a slice! It doesn't look that big in the picture, but actually its about the size of a small loaf of bread, which I don't think is quite right. But I quite liked it! Just means you only have to one slice instead of two! ;)

 
Having tried the loaf it was really nice, especially warm fresh out of the oven with a bit of butter. Unfortunately, there wasn't enough to try the malt loaf bread and butter pudding as that looked even nicer! Its a much lighter bread than the malt loaf you buy in the supermarket but still had the malty flavour and the slightly dense chewiness I normally like!

  Here you can see a slice and the sultana's (and currants) I used. They didn't sink down to the bottom which was good! I had to use some currants in it as well as I didn't have quite the required weight in sultana's, but it still worked nicely!


Saturday, 19 January 2013

Hi 2013!

So this is my first post of 2013, not only that but its the evening of my *coughs over the number of years* birthday! I used to celebrate my birthday with a vengeance, and as though I'd never have another birthday again. Once I even celebrated with various events for an entire month, I think it might have been my 21st.... Anyway, its now 9.30pm and I'm writing on my blog. Haven't times changed!?

Anyway, this isn't even a proper post really, just to post a picture show casing some of the baking I did today and some of my birthday and christmas presents. Due to the snow, we cancelled all my other plans and decided to just stay in, in the warmth and make a little afternoon tea for two.

The sandwiches are a variety of cucumber, ham and cheese, and variations of these same ingredients! I made half plain scones and half with sultanas (Mary Berry), then at the top you can just about see the lemon drizzle cake (Nigella Lawson version from How to Be a Domestic Goddess). At the front there is a big tub of clotted cream and some little pots of jam.

Presents wise, the cake stand, tea pot and cups and saucers were all christmas presents (Cath Kidston). Then the orchid was one of my birthday presents. You can only see a reflection in the orchid pot, as its hiding behind the cake stand, but there's also a lovely Jo Malone candle shining brightly as well. Roasted chestnut. Smells absolutely amazing!

Anyway, here you go: